When the time came to really start thinking about dropping the LS/T56 combo into my ’68, the only thing that really concerned me was the clearance issue that might arise due to the low hump pan on the cab’s floor. I didn’t want to pull the motor in and out while I whittled away at the stock pan, grafting sheetmetal where it needed clearance and since all the carpet kits are premolded to either the low- or high-hump floors, I didn’t want to deviate too much from the stock shape of the trans tunnel either so as to avoid any unsightly bulges or sags in the carpet. I knew that the high-hump trans pans were installed on a number of different spec trucks back in the day (4×4, big block, and 4-speed trucks for example), but I also knew that nobody was reproducing them. That meant I’d have to search for one and until I found one, the engine swap would be put on hold.
Luckily, a quick post on the www.67-72chevytrucks.com forum board and I found one locally that was in perfect shape and completely unmolested (thanks Adam!). With that, I was satisfied that I could now move forward with the swap and not have to worry about running into any clearance issues as the high-hump pans are a good two-inches taller from the firewall all the way back to the cross sill support under the bench seat.
Installing the high-hump pan in a low-hump truck is fairly straight forward as the low-hump floor comes stamped with a nice indentation that basically outlines the hole that needs to be cut. To be safe, I opted to drill the holes first using the high-hump pan as a template, that way, I was certain that I didn’t cut too much metal out of the floor (hey, it’s hard to put it back!). From there, it’s a simple matter of marking and drilling the shifter hole and you’re done.
Making the high-hump upgrade is the simplest option if you’re faced with clearance issues on your ’67-72 Chevy truck. It also gives you easy access to the transmission from either above or below, so if you’ve got an old sludge box that constantly needs fettling, no longer will you have to lie on your back in the rain to fuss with the transmission. CC
Here’s the floor of the C10 just after I installed the T5 transmission about two years ago. Note that the low-hump pan is part of the cab floor, as opposed to the high-hump pan, which is a separate piece. This shot precedes any of the insulation I installed a few days later.
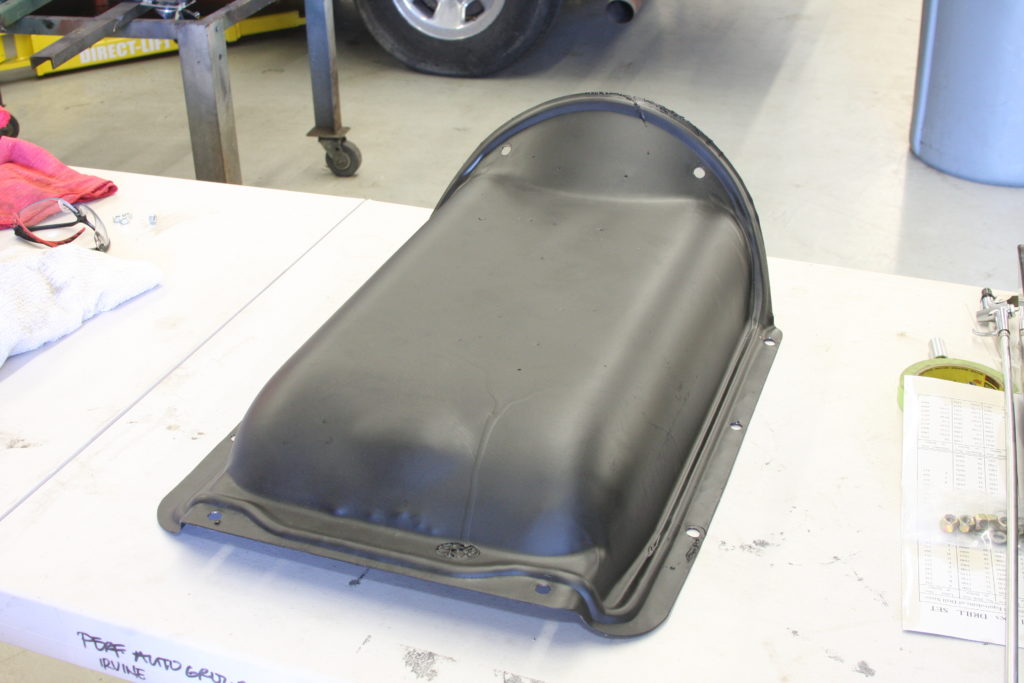
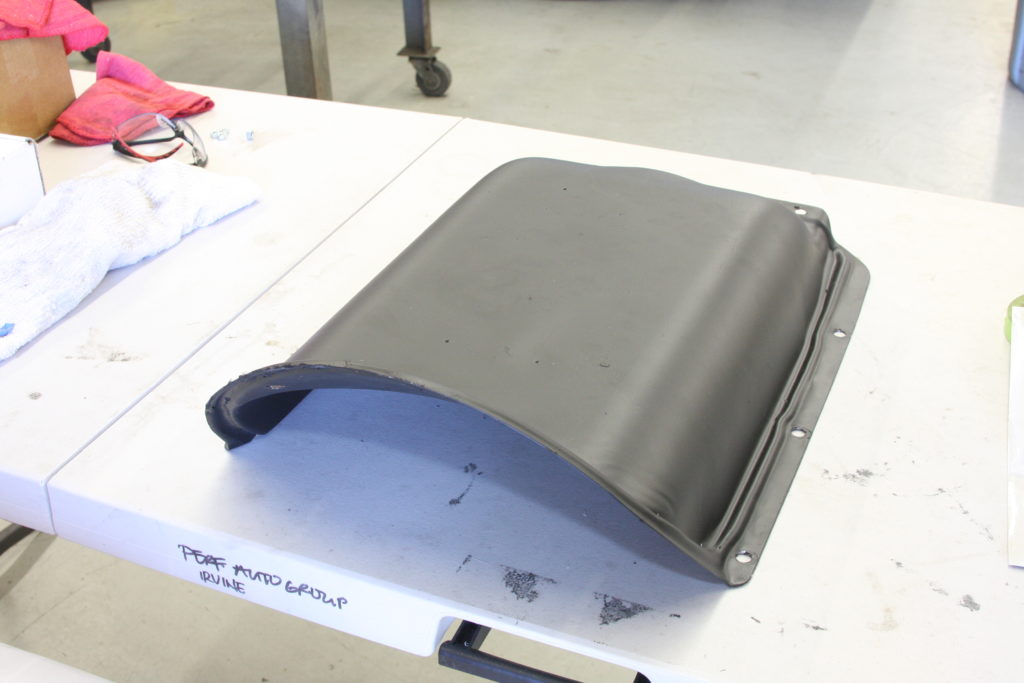
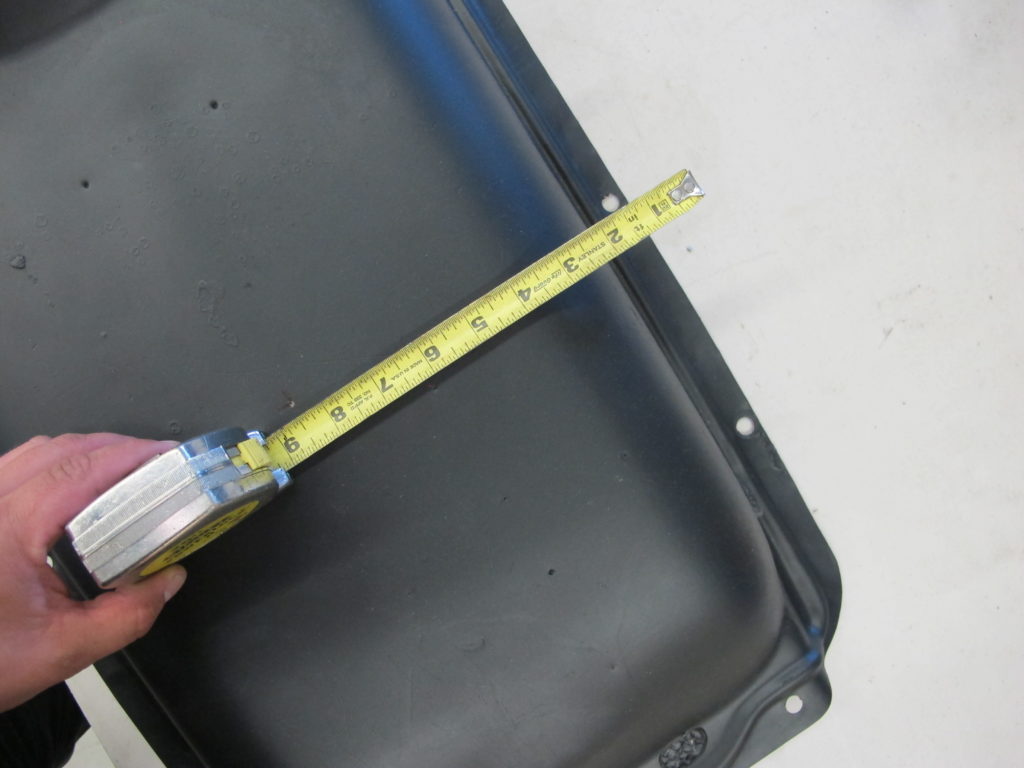
Here’s a ’67-72 high-hump pan that I scored off the internet. The size difference between it and the stock low-hump floor is pretty obvious, even at first glance.
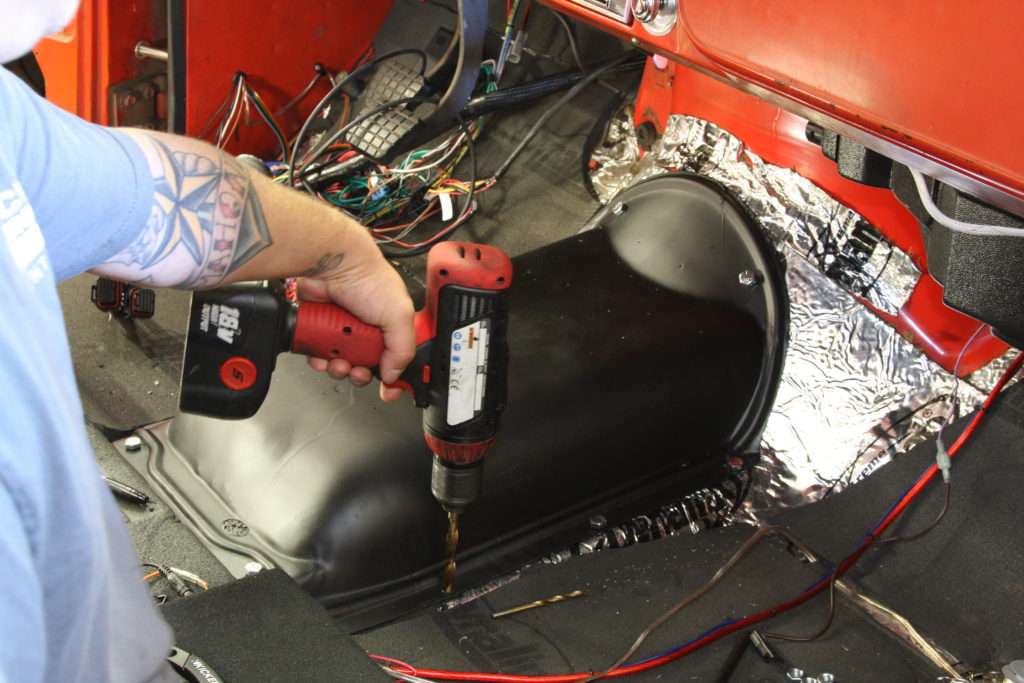
Since the high-hump pan bolts to the floor, we’ll need to drill a series of holes through the cab floor using the high-hump pan as a template.
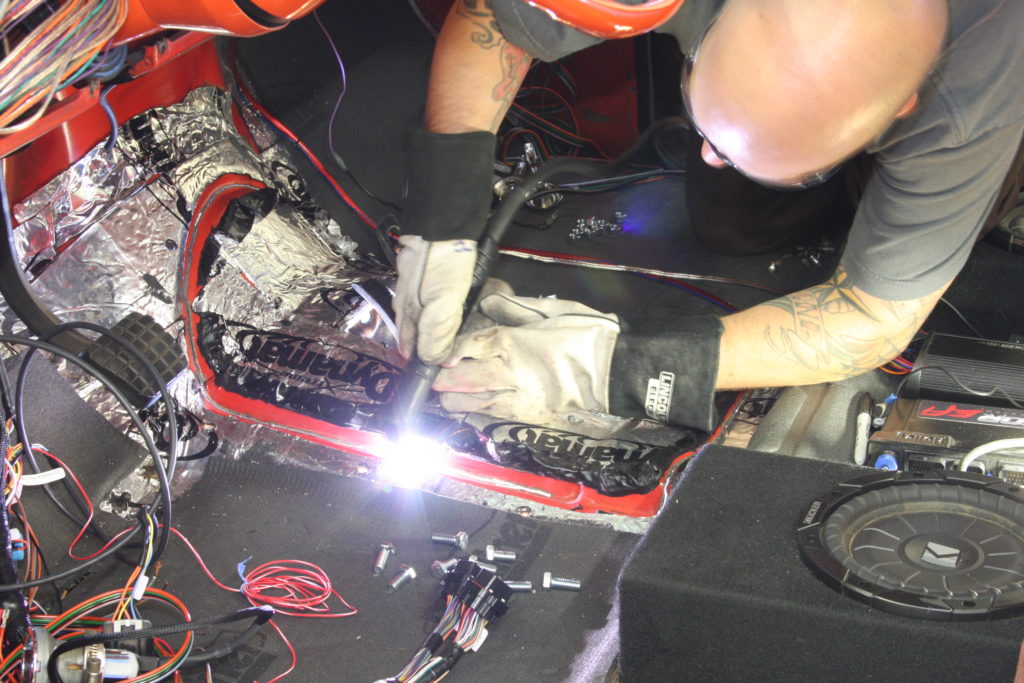
The stock floor has a raised edge that serves as a pretty good guide when it comes to cutting out the low-hump pan. I’m going to use a Lincoln plasma cutter to make quick work of it. Notice that I’ve peeled back or removed the insulation from the cut line area.
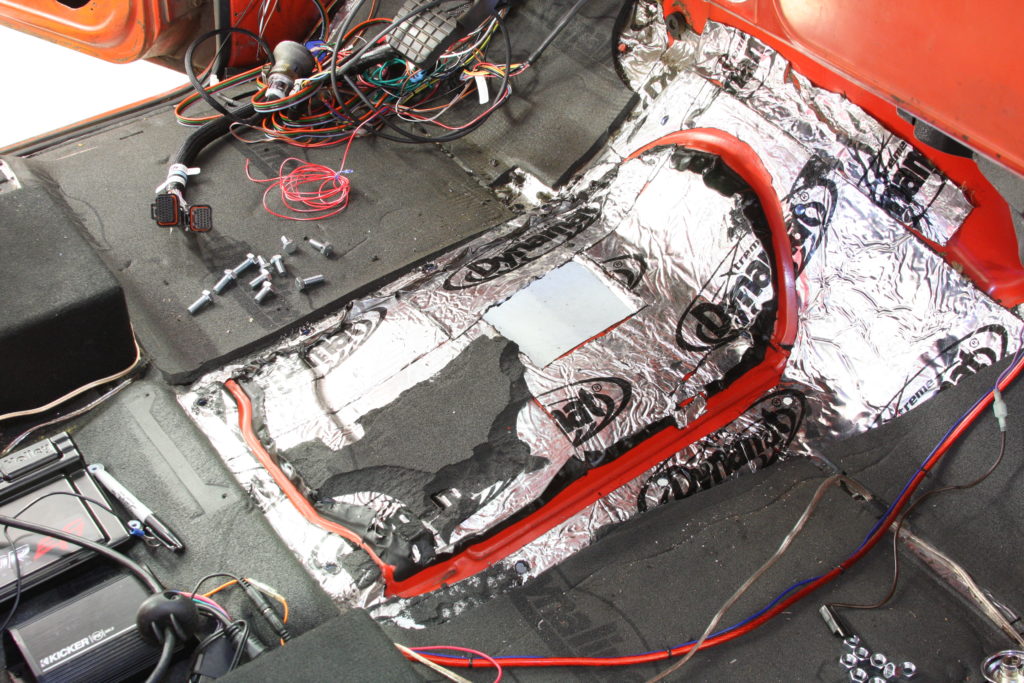
A little bit of smoke and fire and we’ve got ourselves one big hole in the floor, giving plenty of room for the Tremec T56 Magnum transmission that will soon reside in its place.
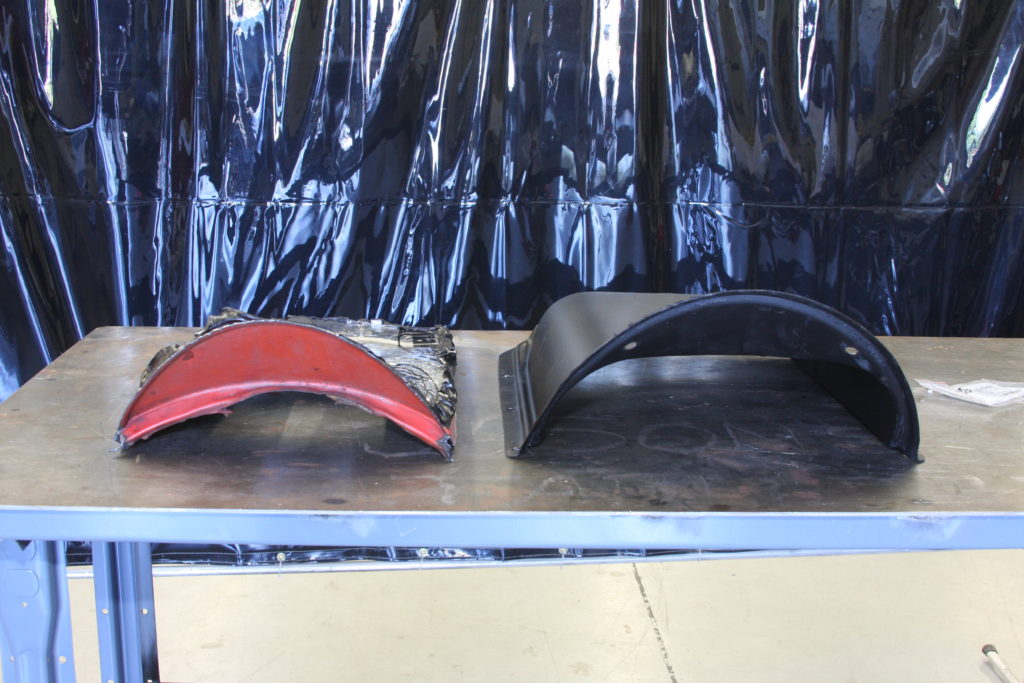
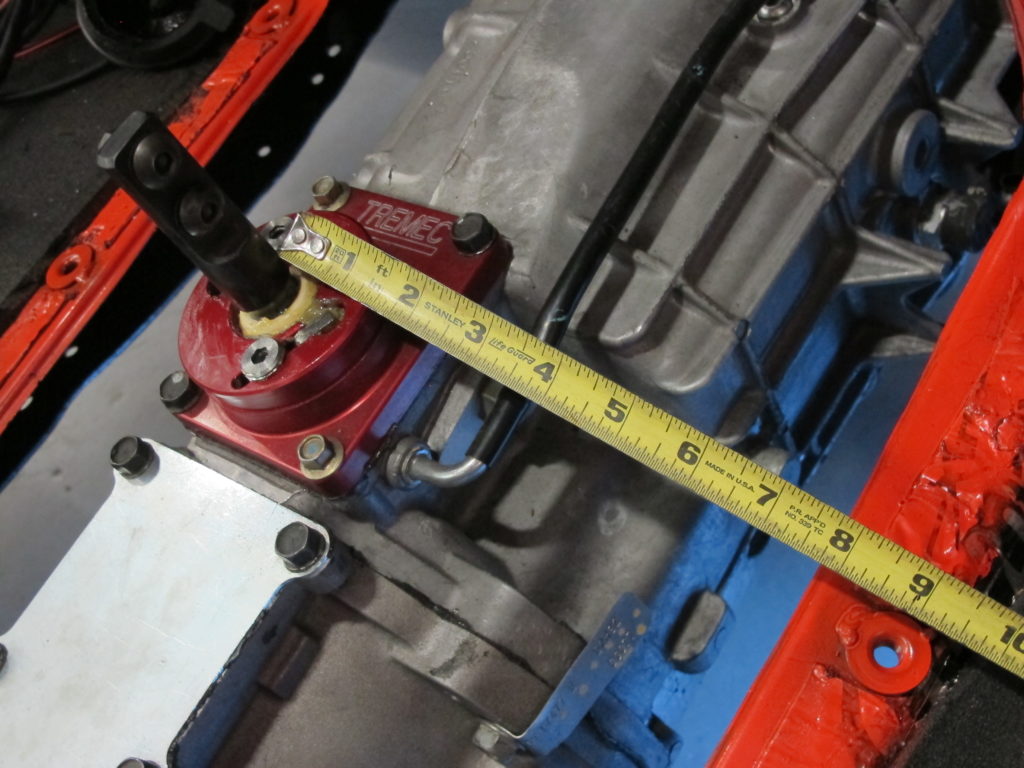
With the low-hump pan removed, it’s now possible to compare the two, side by side. The high-hump unit is about two inches taller through the entire length, which really will give the trans room to breathe.
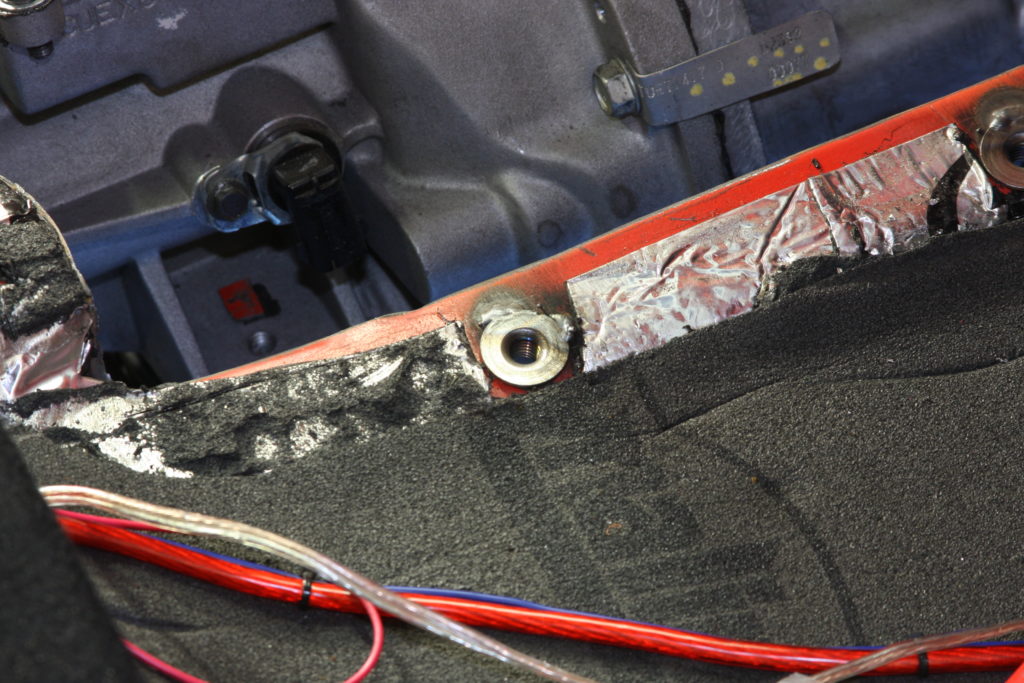
It was at this point where I realized I needed to come up with a better way to fasten the high-hump pan to the floor. I hate sheetmetal screws and a standard bolt/nut combo would require crawling under the truck while someone tightens the bolts from inside.
A little snooping at the local hardware store turned up these weld nuts that I simply tacked in place.
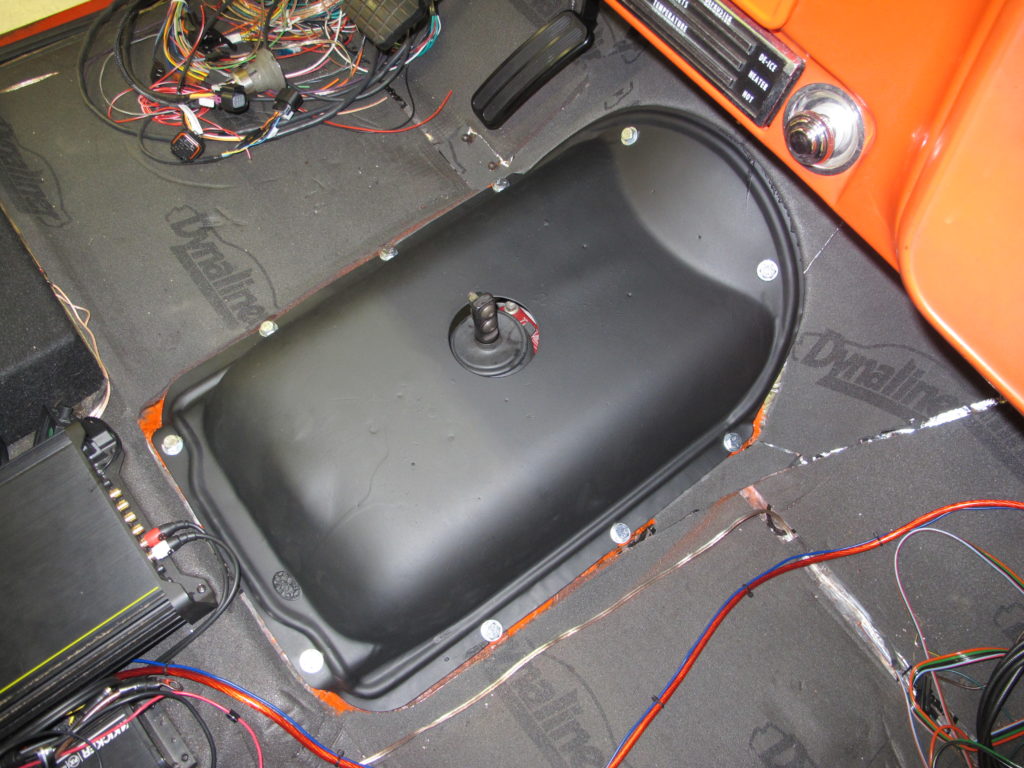
With that, I was able to tentatively tighten the pan in place to check fitment. Everything checks out so it’s time to pull it back out and install the engine and transmission.
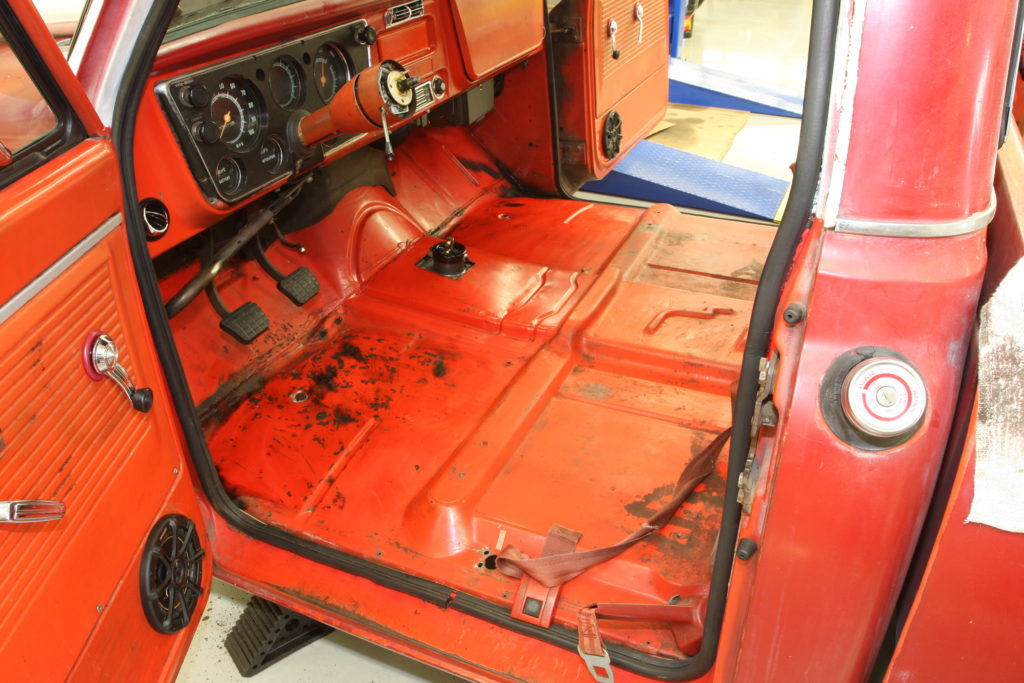
Now that I’ve created some room for the new trans, I was finally able to slide the drivetrain combo in place. It would have been a pretty tight fit if I had left the low-hump pan in place but with the new high-hump pan, there will be plenty of space to access the transmission if need be. We’ll cover the full LS install in a future issue.
Before the high-hump pan can be installed for the final time, we need to knock a hole in it for the shifter.
Luckily, the shifter sat in line with two of the mounting holes, so it was a simple matter of centering the shifter hole on the pan in between the corresponding mounting holes.
A 3-inch holesaw gave us a perfectly centered hole for the shifter shaft to poke through.
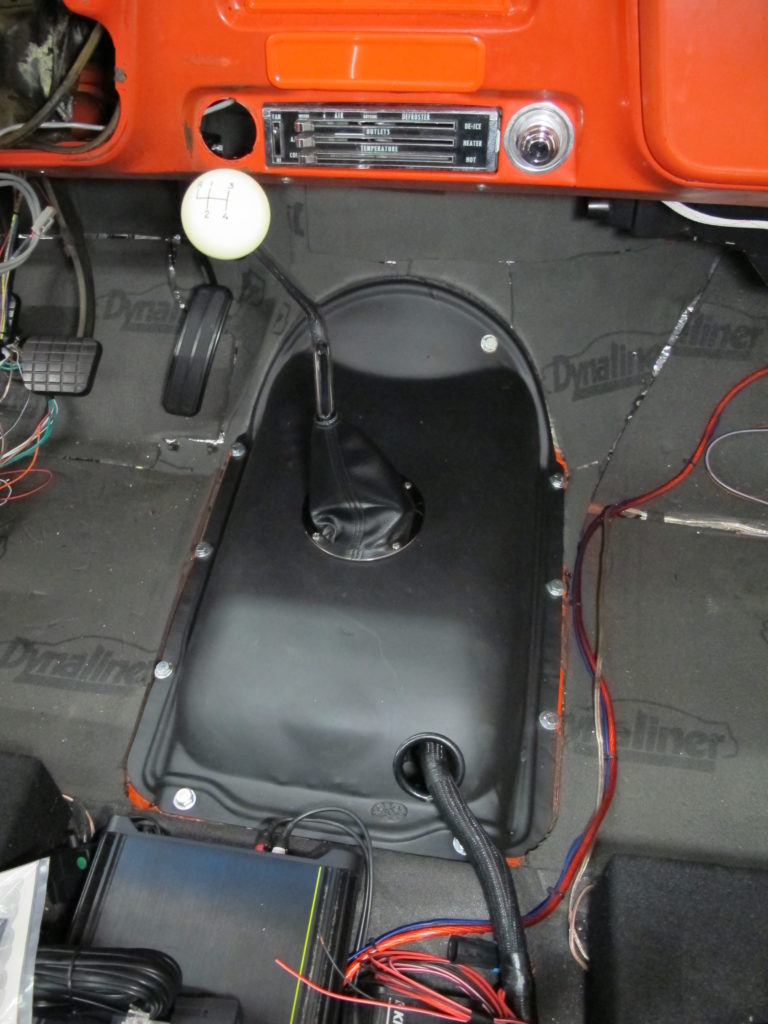
To finish off the install, I’m using a Lokar hot rod shift boot that fits perfectly around their 16-inch double bend shifter. A Hurst four-speed shift knob tops it off and keeps the identity of the 6-speed under wraps by mimicking the old Muncie 4-speed shift pattern.
Related posts:
383ci SBC build, part I Bottom end basics for a blown small block Chevy engine build 383ci SBC Build, Part I By Ryan Manson * clampdowncomp@gmail.com When it comes to powering that project that you’ve been working on, there are basically three options; buying a crate engine, buying a junkyard motor, or building an engine...
383ci SBC Build, part II Building a Bullet Proof Rotating Assembly 383ci SBC Build, Part II By Ryan Manson * clampdowncomp@gmail.com With the foundation of our 383ci Chevy build in place thanks to the installation of the forged Eagle 3 ¾-inch stroked crankshaft, it’s time to move onto the rotating assembly. That means it’s time...
Installing an Overdrive T5 Transmission in a Model A Ford Installing an Overdrive T5 Transmission in a Model A Ford Five Forward Gears for a Model A By Ryan Manson * clampdowncomp@gmail.com A Model A Ford can be one of the simplest machines in which to work. That’s a good thing becuase if you own one, chances are there’s something...