Roadster Rhinoplasty, Part III
Wrapping up the track nose for the Project Potvin roadster
By Ryan Manson * clampdowncomp@gmail.com
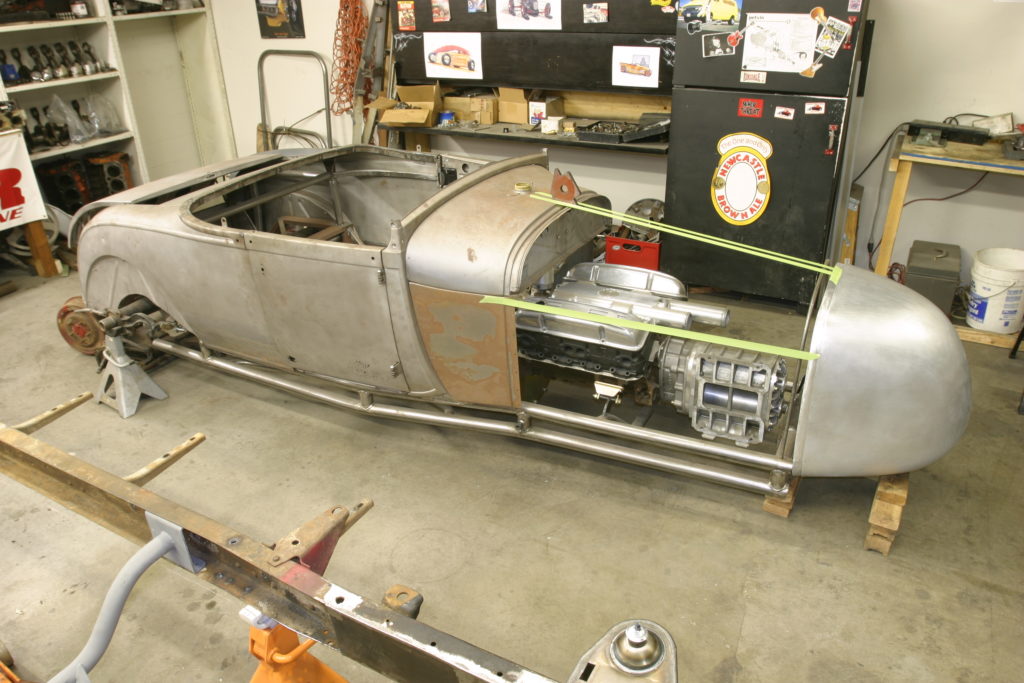
One of the most exciting aspects of any project is when it really begins to take shape and form and begin to actually look like something. For the past year or so, my ’29 roadster has slowly begun to look like a car. Starting with two halves of an original roadster body and a set of drawings on my shop floor, I built a custom full tube chassis, mounted the engine, trans, and suspension, and reunited the body. It’s slowly taking shape, but still has yet to actually look like a car due to the lack of wheels and tires and any front sheet metal. But the latest development in the build is hopefully going to change all that.
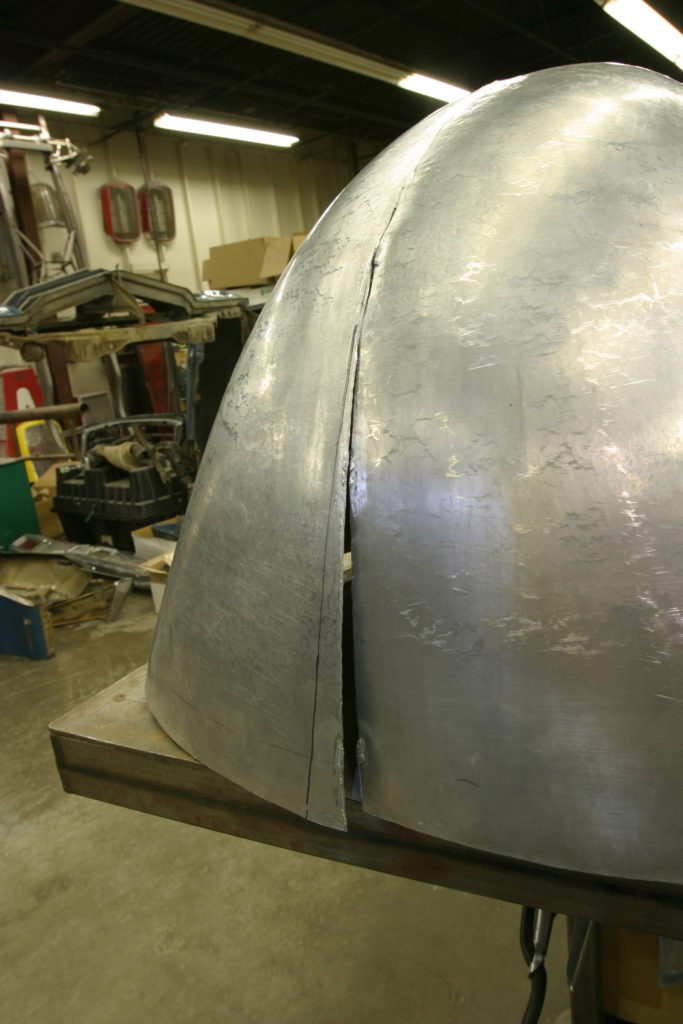
In the previous story, we started the track nose for the front end of the Project Potvin roadster and finished with the two halves hammered out and ready to be welded together. We also covered how the initial shape was developed using a buck made from the front dimensions of the ’29. This told us everything we needed to know to get the shape desired and the dimensions necessary to clear the front frame horns and suspension items. And so, with buck in hand, I headed out to Elgin, Illinois where the first half of the track nose was fabricated by Sam Waltermire at the Roadster Shop.
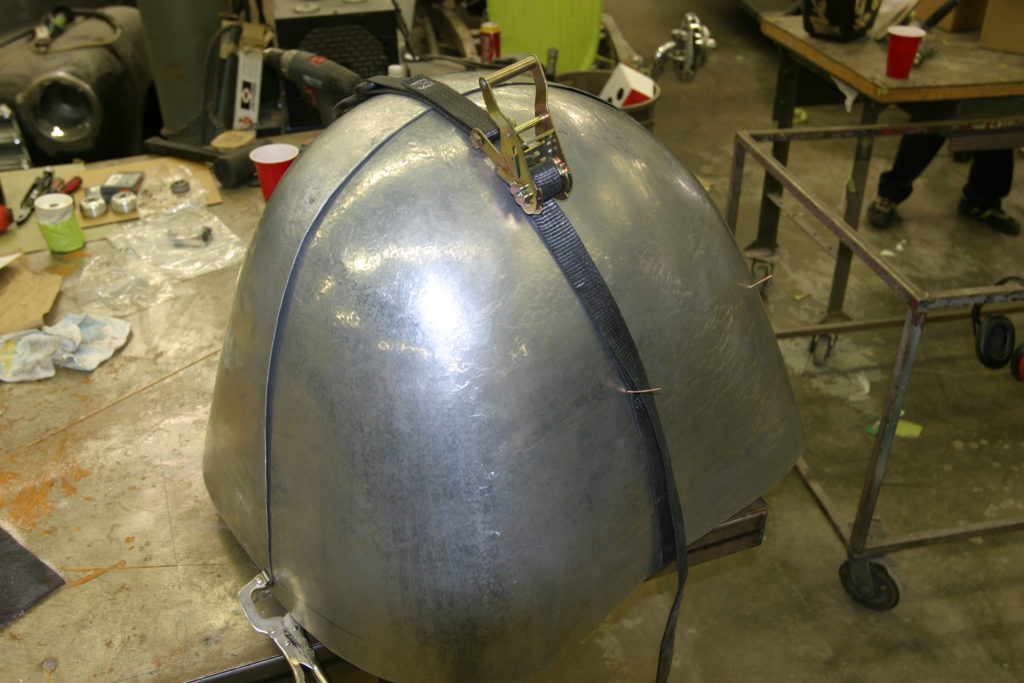
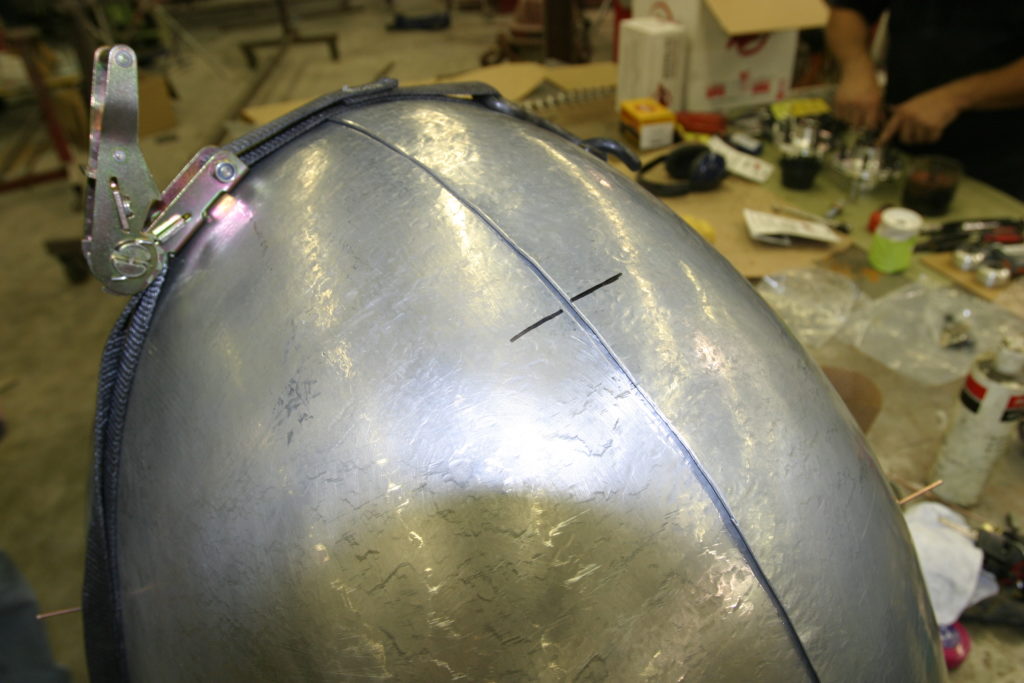
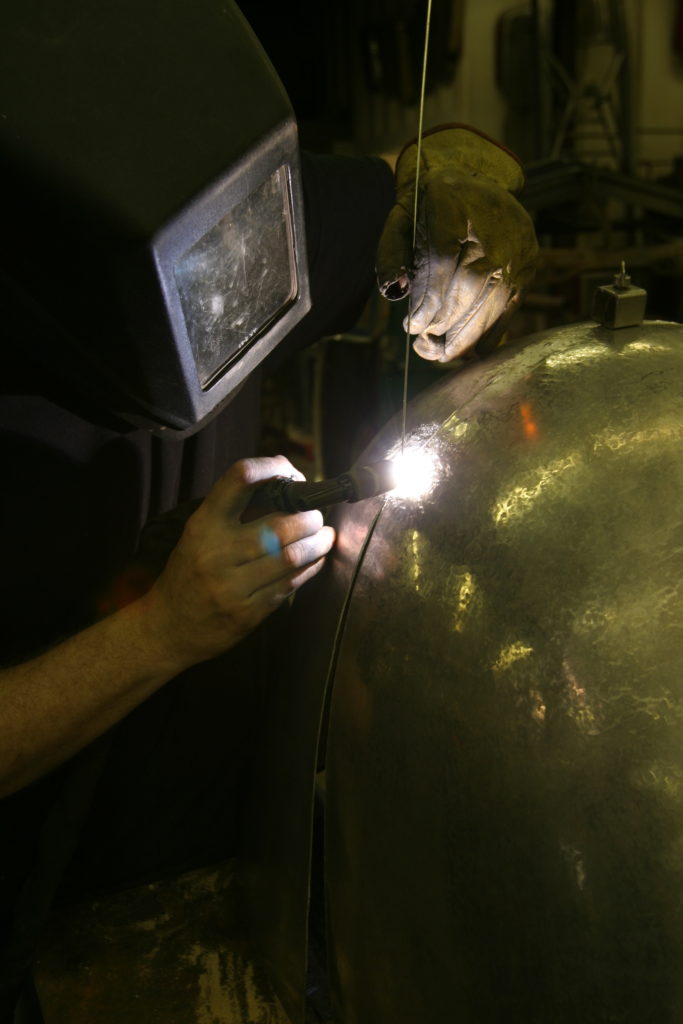
An interesting thing happened once the two halves of the track nose were joined together; the shape became very apparent. Whereas before no matter how hard you’d squint or imagine, there was a sense of unsuredness about what the finished product would look like. Once those two halves were joined however, it was very obvious as you walked around it the shape that it was taking on and thankfully it was looking good. I’ve heard horror stories about track noses and how guys have built two or three before finally getting it right and to say I was a bit nervous right off the bat would be putting it nicely.
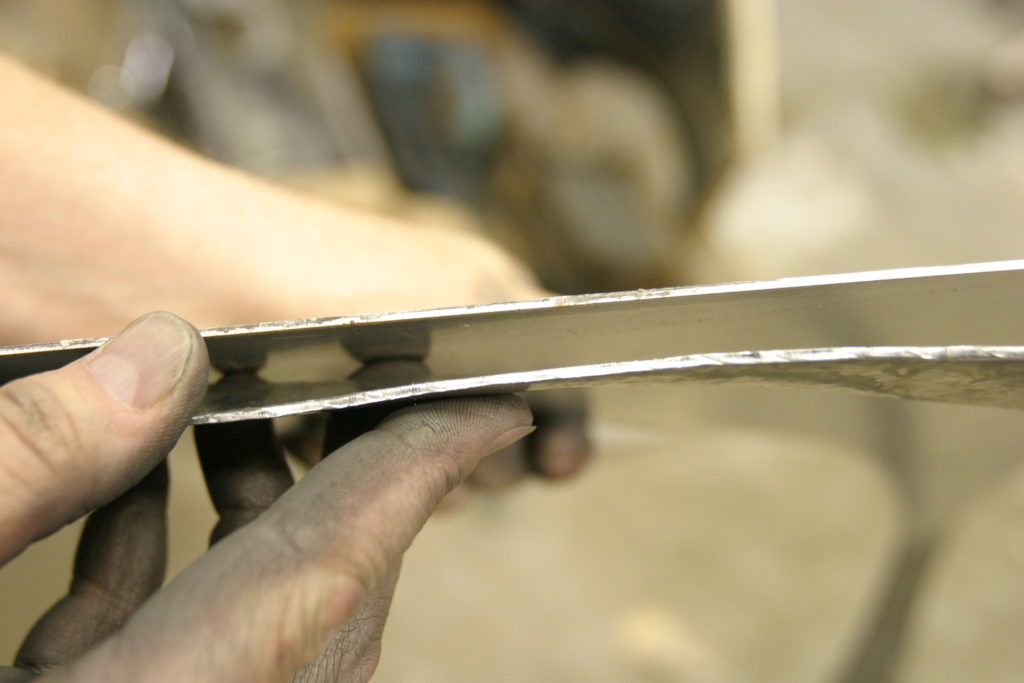
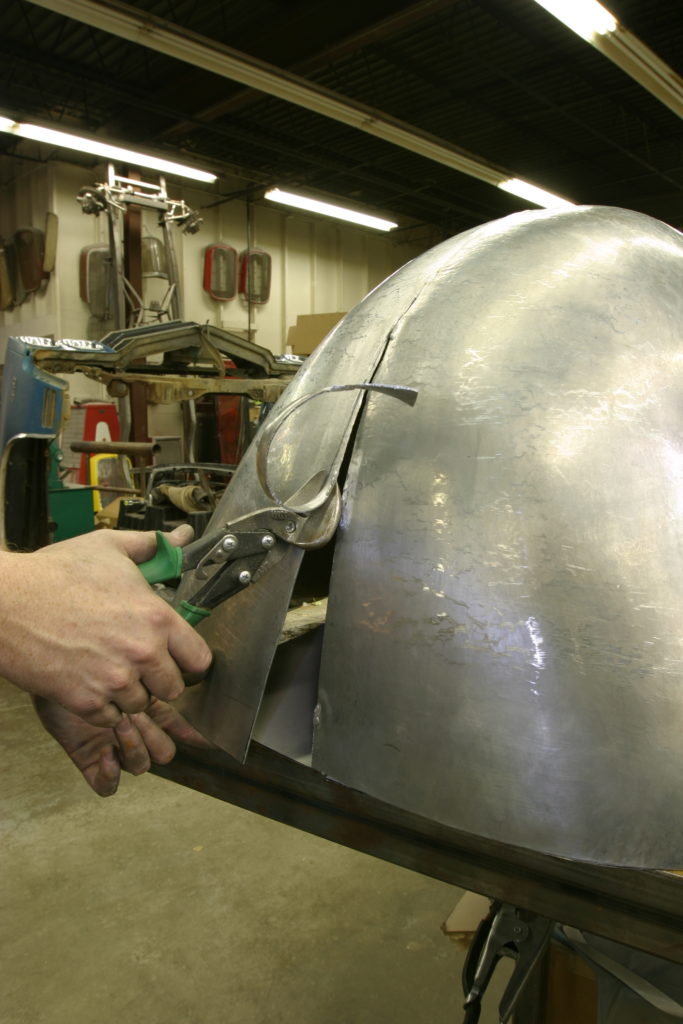
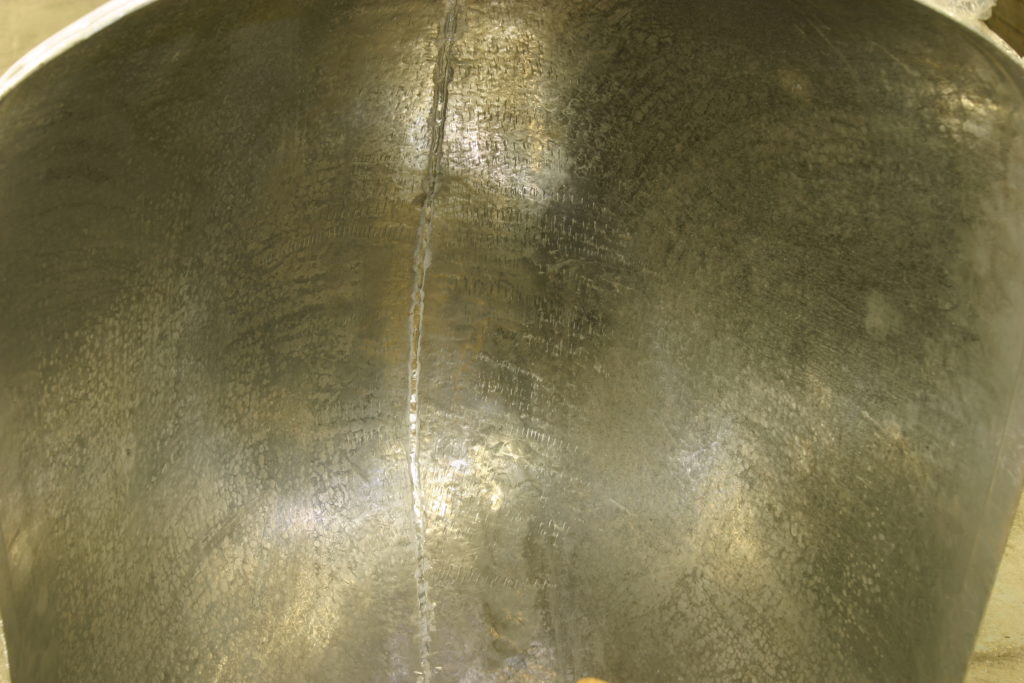
All in all though, once the halves were welded together, it really looked good. A pie cut was taken from both the top and the bottom to get a more streamlined shape, but that was a very minor hiccup and more of a tweak than any kind of major modification or mistake. Once Sam welded the two halves together and knocked down the weld bead, it was treated to some more time in the planishing hammer, perfecting all the high and low spots before it was crated up and shipped out.
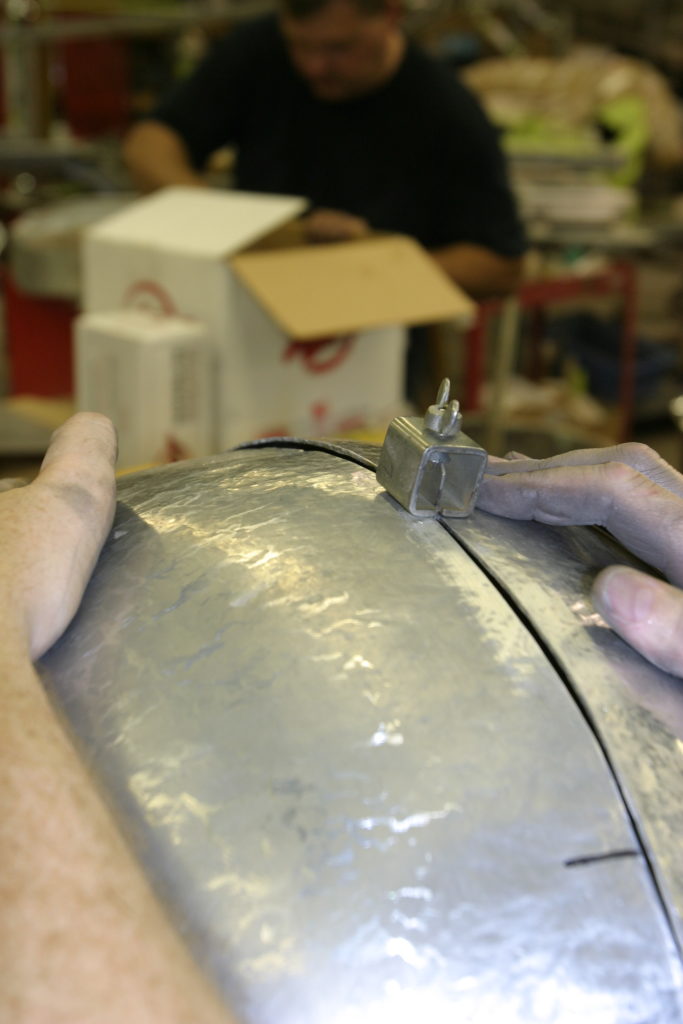
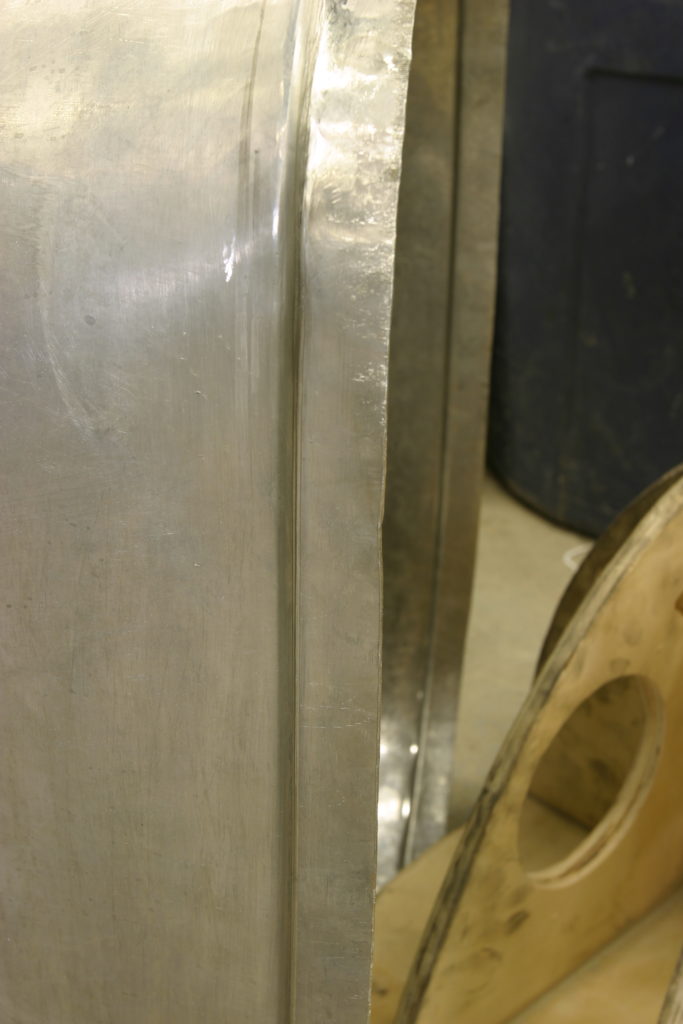
With the nose in hand, it was mocked into position on the car and many hours were spent studying the lines of the front end. The hood lines looked like they’d flow from the cowl into the nose as expected and some notching would be necessary to clear the suspension as well but other than that, everything seemed to gel perfectly. An inner structure will be fabricated to support the hood and nose off the frame and will also serve to mount the radiator over the axle, inside the nose. To ease installation and removal of both the hood and nose, Dzus buttons will be used to fasten everything into place. A grille shell will also be fabricated and fit into the front of the nose to allow air flow through the radiator and into the engine compartment. There’s lots more to come, but for now, check out the final installment of Roadster Rhinoplasty. CC
| Sources: | |
|---|---|
| The Roadster Shop (847) 949-7637 www.roadstershop.com |