Roadster Rhinoplasty, Part I
Building a track nose for a Ford roadster
By Ryan Manson * clampdowncomp@gmail.com
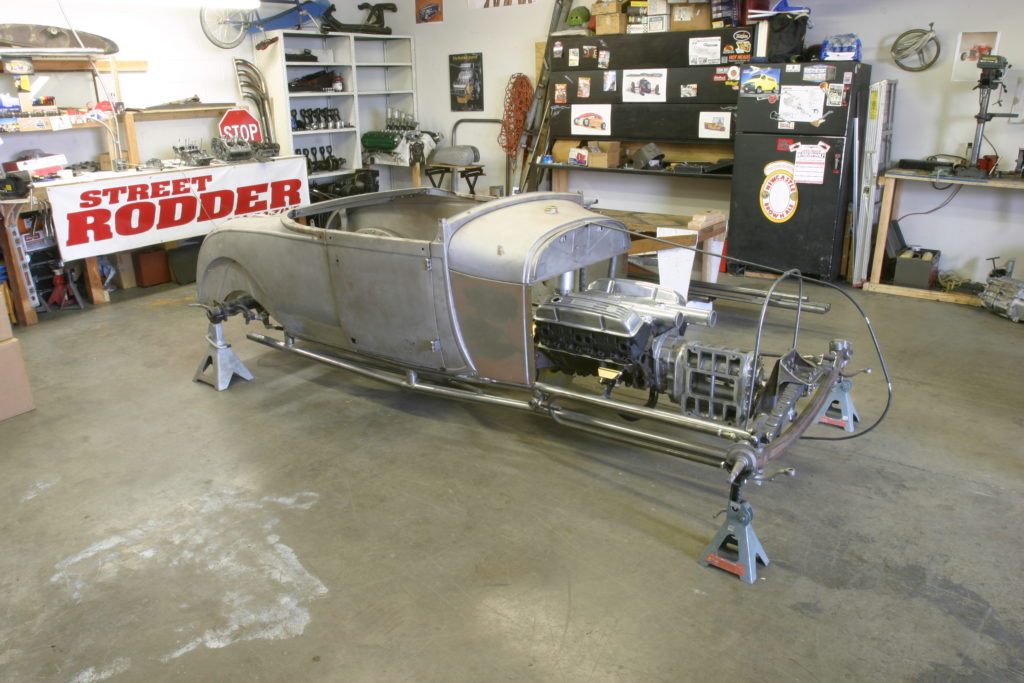
With the majority of the primary metalwork completed on the Project Potvin ’29 Roadster, it’s time to move forward of the main body and on to the front sheet metal. The body is bolted firmly in place and the doors are hung and gapped nicely, so the time has come to fabricate the track nose, grille, and then the hood. The plan calls for fabricating the nose and hood as two separate units from aluminum and mounting them to an inner support structure off the frame. Dzus buttons will secure the tin and facilitate easy removal in case of engine fire, violent blower explosions, or just to check the fluids. Hopefully the first two will never happen and the last will probably happen once or twice, but perhaps just as rarely.
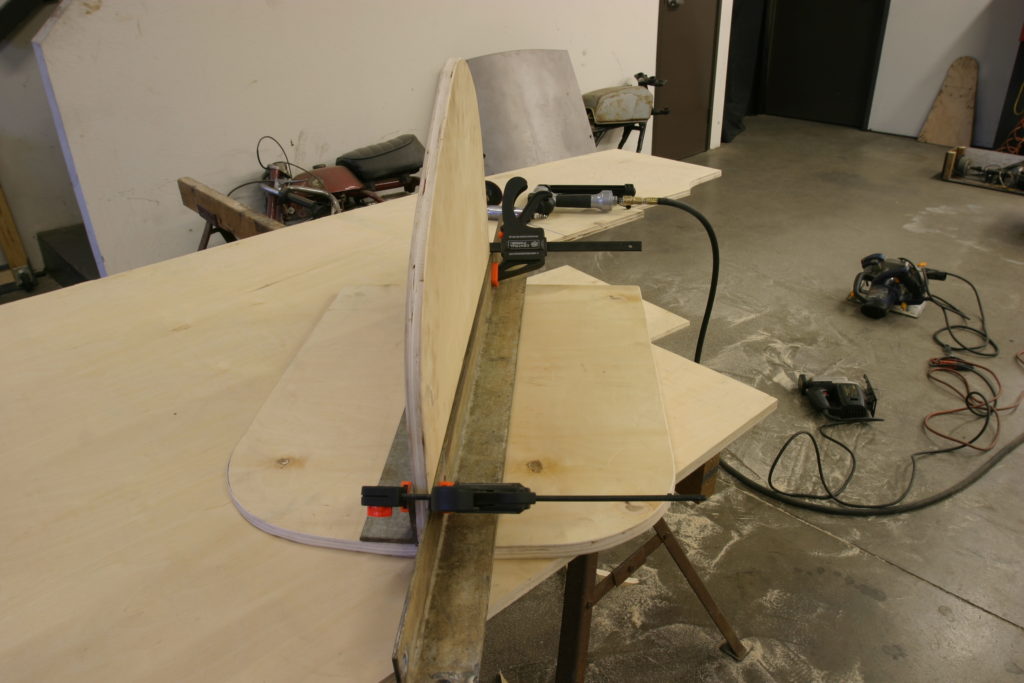
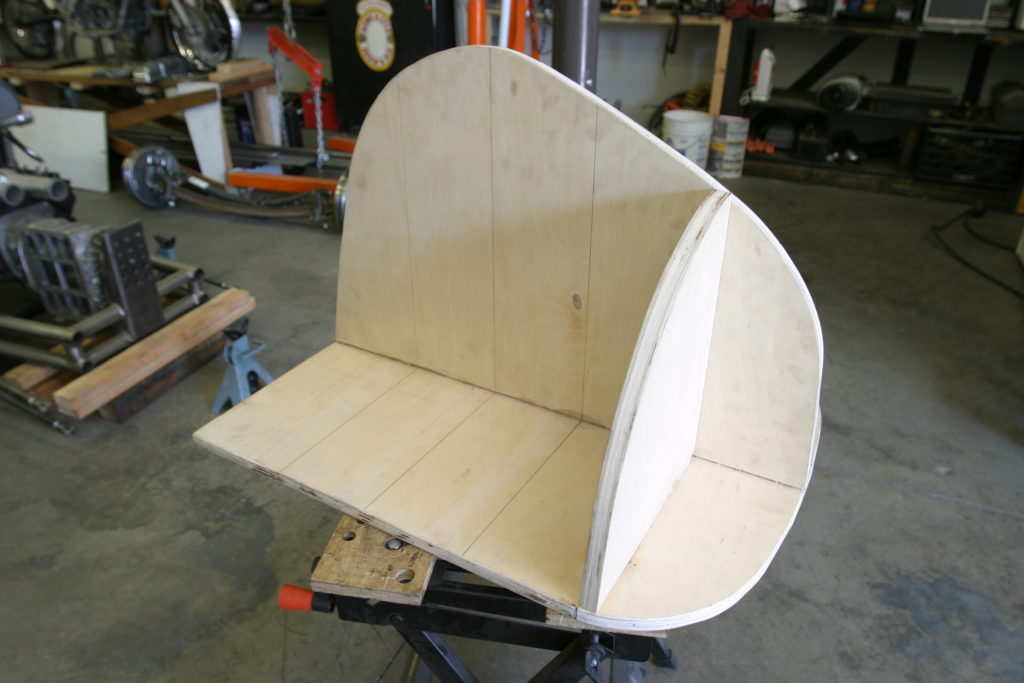
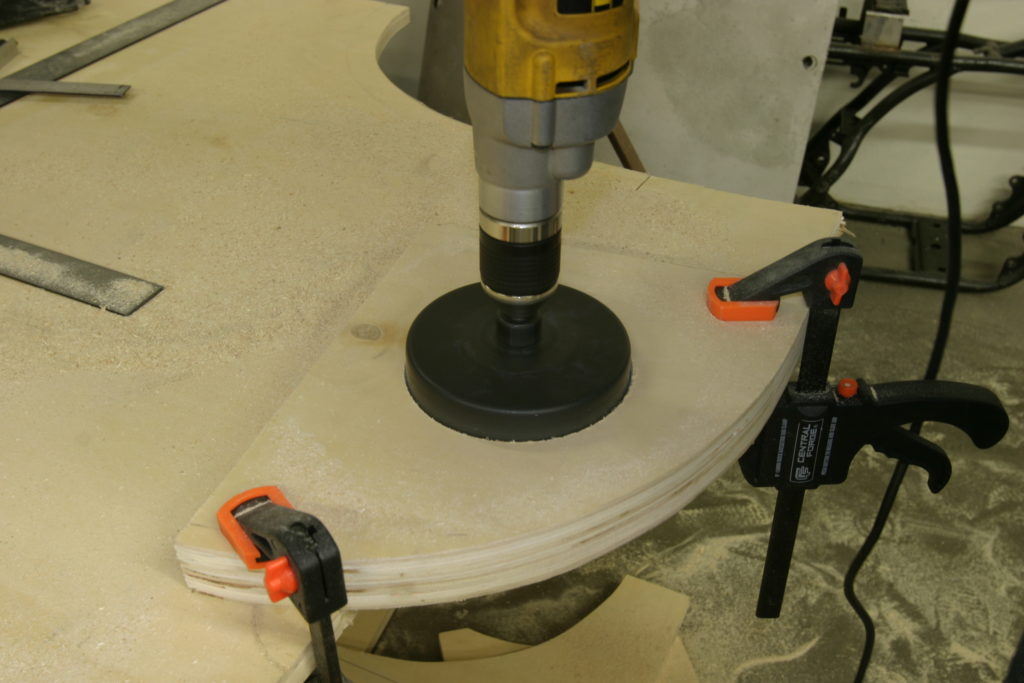
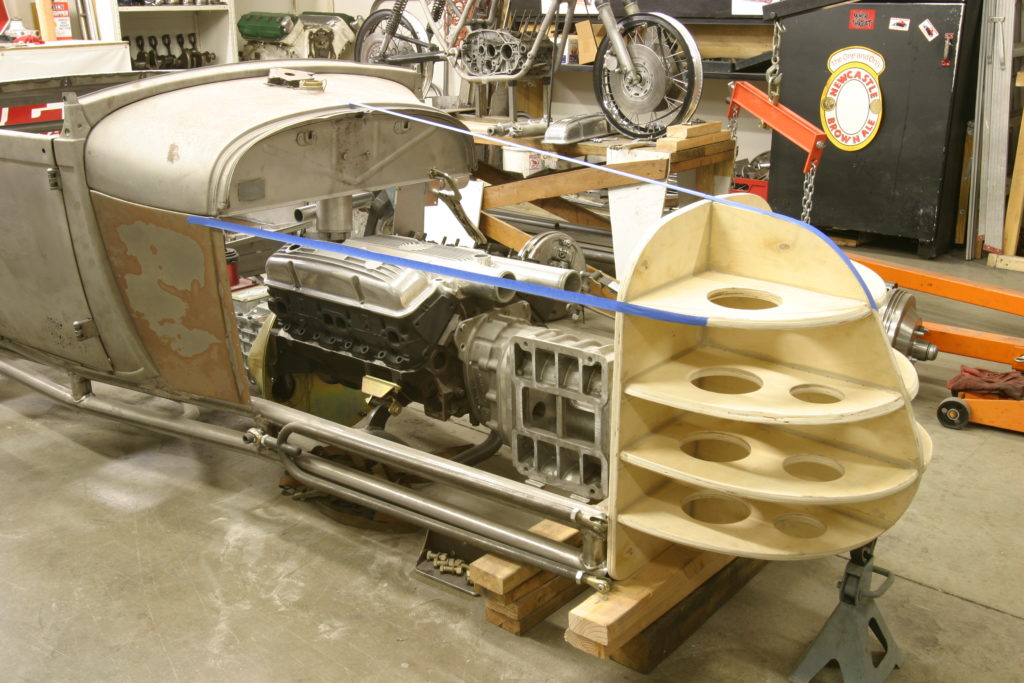
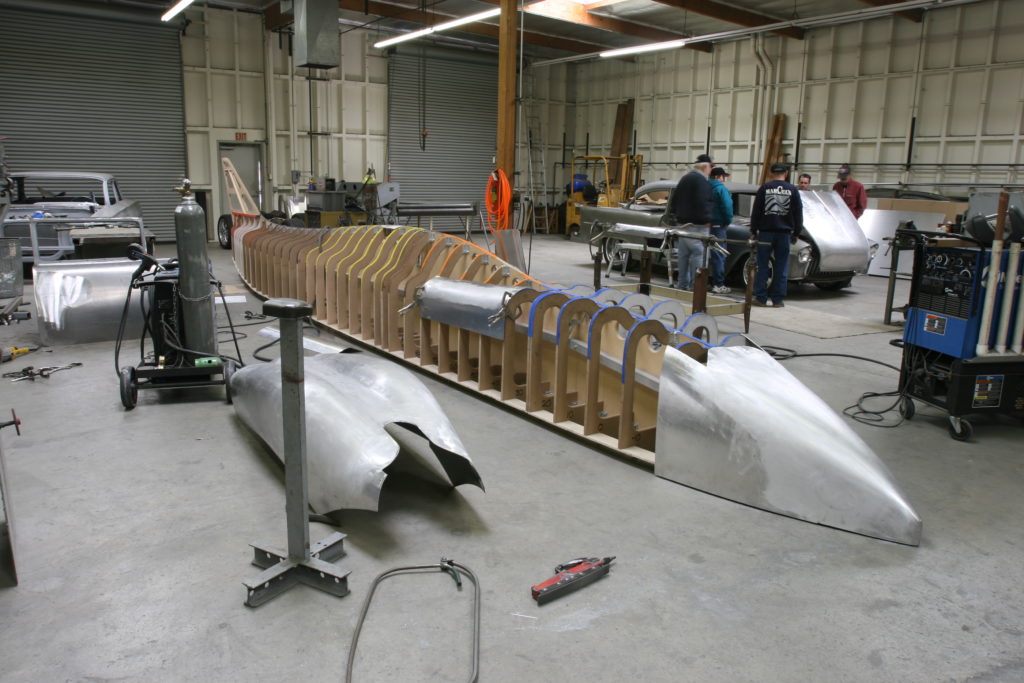
The first item on the list is the track nose. Since the shape of the hood is not only dictated by the shape of the cowl, but also the shape of the nose, this needs to be fabricated and installed before the hood can be sorted out. But before any aluminum can be manipulated into shape, a foundation needs to be laid out in which to form the contoured nose. For this application, the foundation will be in the shape of a wooden buck, formed from ¾-inch sanded plywood. This buck will act as a pattern which each aluminum piece can be compared to while fabricating the actual track nose.
While a buck can be built any number of ways, this seemed the most logical means to an end, giving us the ability to fine tune the buck as the metal was shaped. It’s also lightweight and easy to work with and will be plenty sturdy to support the nose piece while it’s being fabricated. One thing to keep in mind is that the metal is not formed around the buck. Each piece will be shaped using various tools, machines, and techniques and checked regularly against the buck for fitment. A tiny bit of forming may be necessary with the piece in place on the buck, but it is by no means designed as a dolly of any sort.
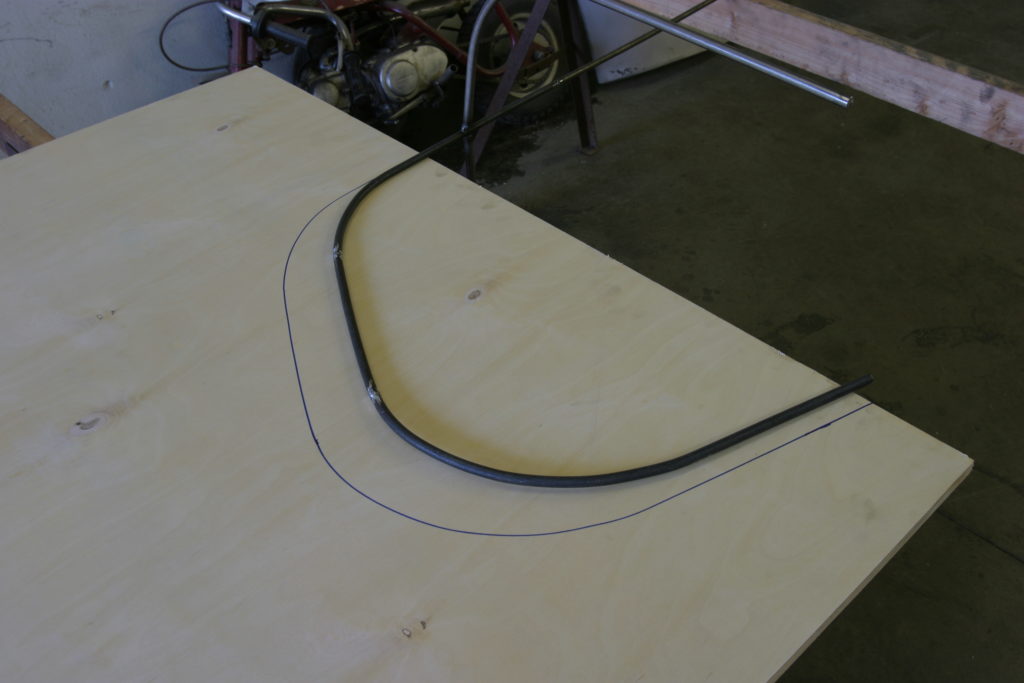
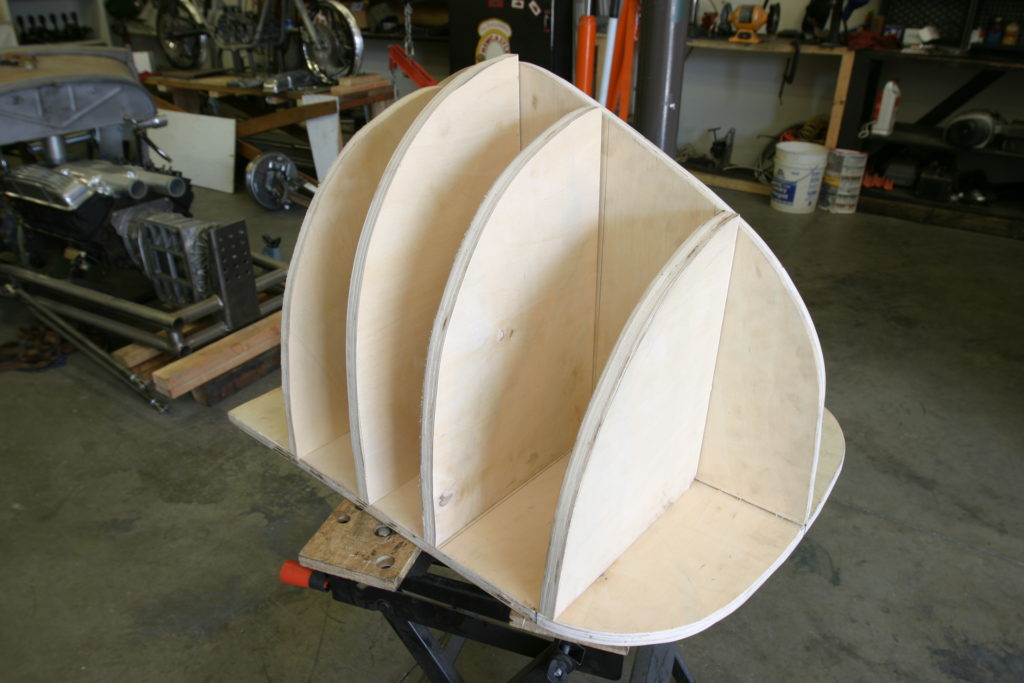
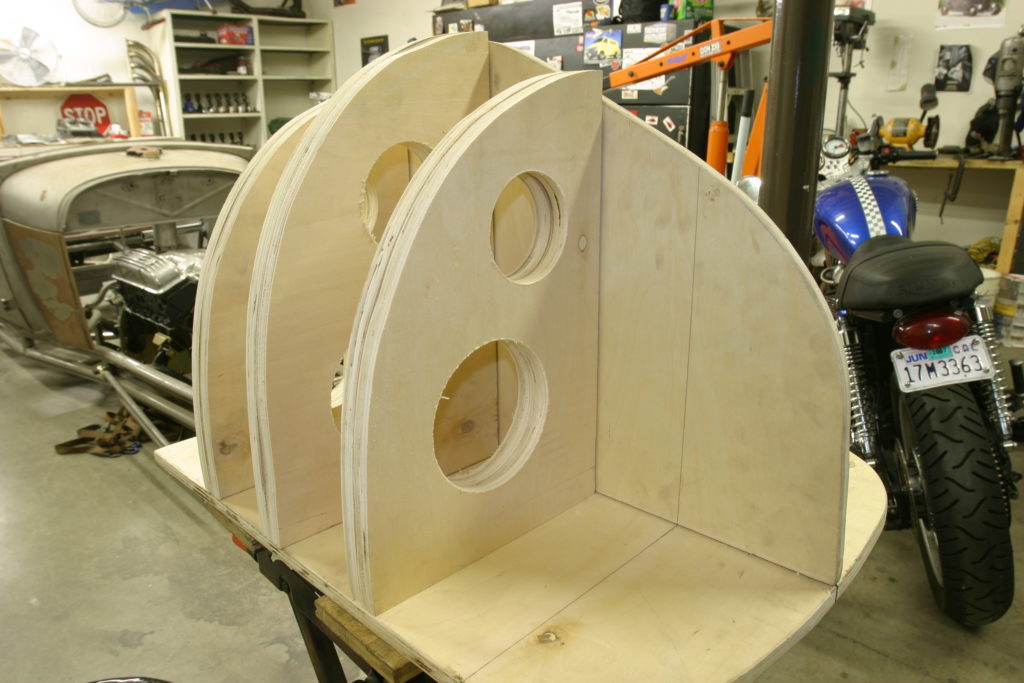
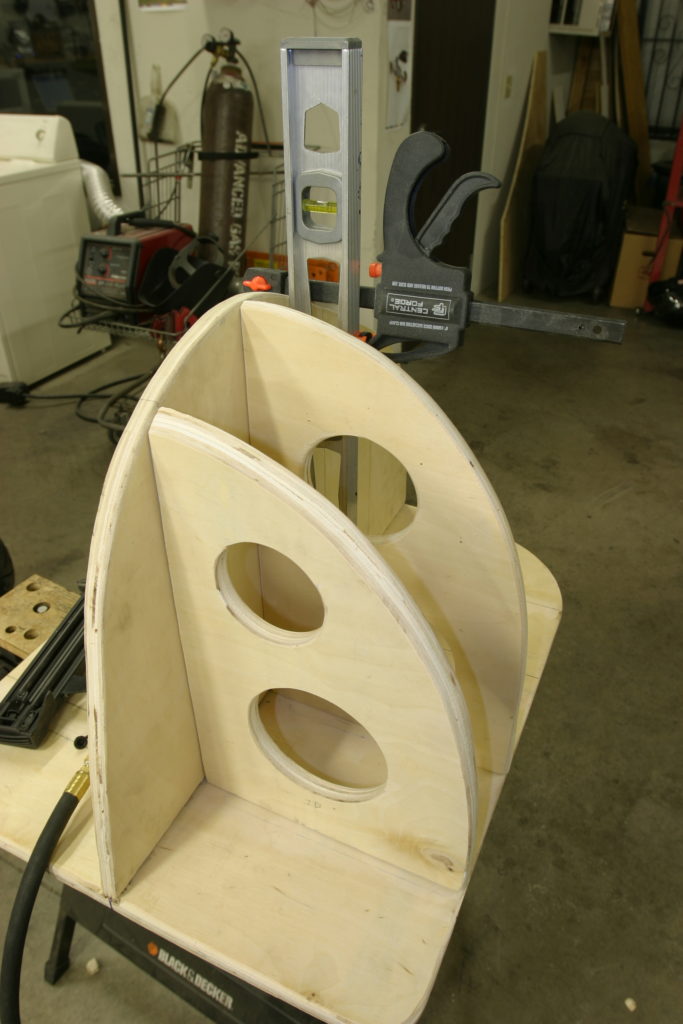
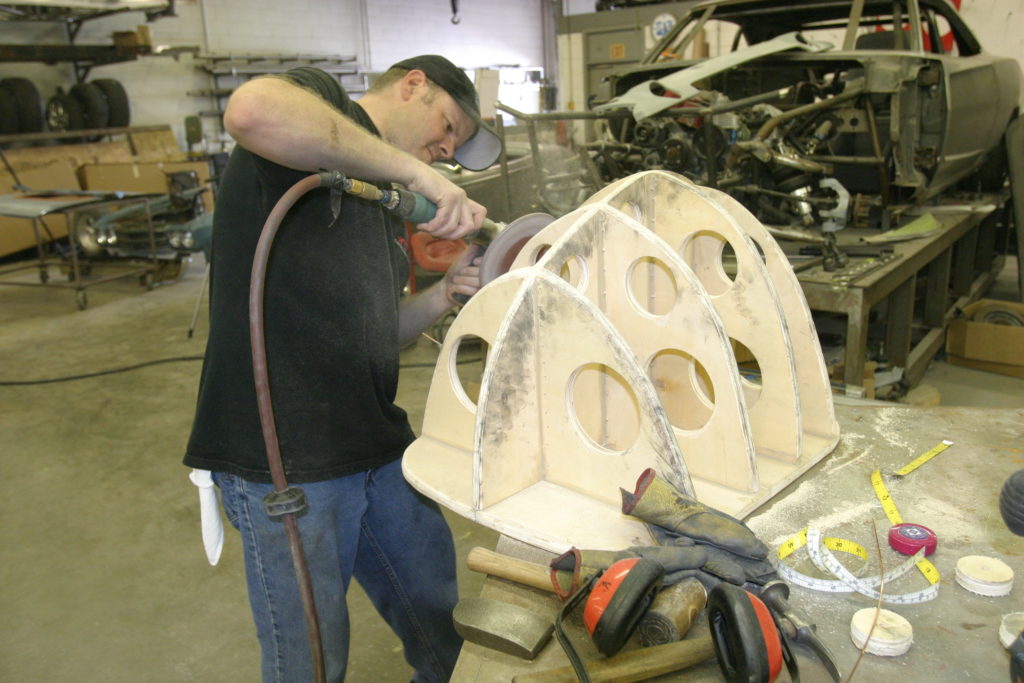
The first step in fabricating a buck is to outline the desired shape of what it is that is going to be built. For this case, the hood line, profile, and contour of the nose itself needed to be determined. To get the correct shape, 3/8-inch tubing was used to mimic the shape of the cowl, but scaled to match the taper from the cowl to the front end of the car. Next, the hood centerline is determined by the slope of the cowl top. This provides the width and height of the backside of the track nose. For the profile of the nose itself, a piece of plywood was placed against the front cross member and a rough profile was sketched out until aesthetically pleasing when viewed from the side. Another piece of tubing was bent to match the profile of the nose and the three sections, the backside shape, side profile, and hood centerline were all attached to form a back bone for the shape of the front end. Once pleased with the shape of the mockup tubing skeleton, the profiles can be traced onto the ¾-inch plywood that will form the foundation of the wood buck.
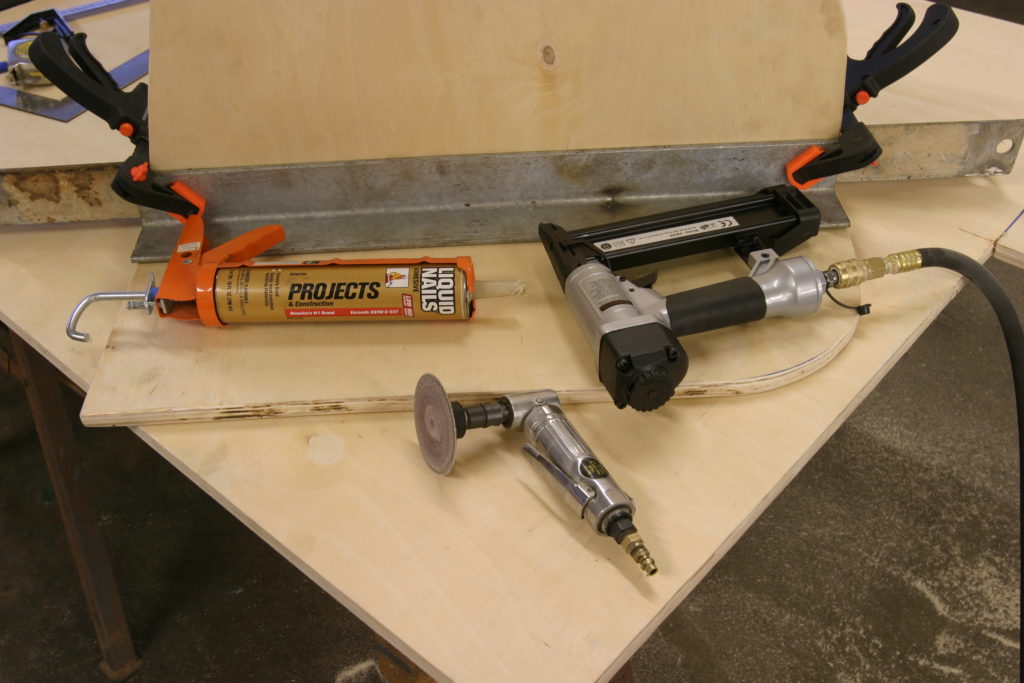
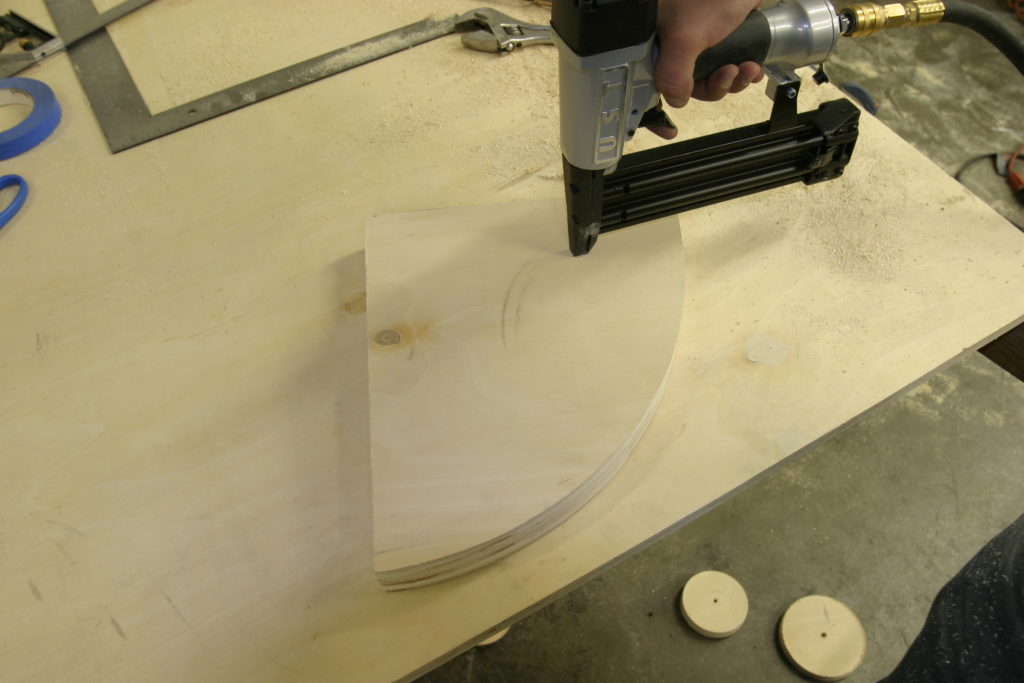
While the fabrication of a wooden buck is not necessary every time a panel is fabricated, for jobs where there are compound curves and necessary parameters to be met, it makes the fabrication process that much easier and more precise. By building a buck that carefully matches the shape and dimensions necessary of the end product ensures that all that time spent fabricating will pay off. With that said, it’s time to make some dust, saw dust that is, and knock out a wooden buck for the old ’29. Stay tuned for next time as we head over to the Roadster Shop where Sam Waltermire will be hammering out the aluminum track nose from our buck. CC
| Sources: |
|---|
| The Roadster Shop (847) 949-7637 www.roadstershop.com |